Skip to content

Unlock the potential of your innovation project with our help guides and videos. Let’s get started.

Configuring your Sandpits

10
  • Sandpit limitations
  • Secure Sandpits: Overview
  • Sandpit control levels
  • How to add a SaaS Sandpit
  • How to simulate your local setup
  • How to connect to a Cloud Sandpit in AWS
  • How to add a Data Science Sandpit
  • How to add a Cloud Sandpit
  • How to upload local code to a Sandpit
  • How to add extra plugins to a Sandpit

Use Case Library

3
  • Machine Learning with AWS SageMaker
  • Exploring AI with NayaOne
  • Wealth management property valuations

Working with Fintechs

3
  • How to connect to a Fintech’s API
  • How to make requests to Fintechs
  • How to view a Fintech’s documentation

Using Data

4
  • How to connect a Dataset API
  • How to connect to a Dataset
  • How to change data request limits
  • How to test a Dataset with a Fintech’s API
  • Main website
  • Help Centre
  • I'm a developer
  • How to connect to a Cloud Sandpit in AWS
View Categories

How to connect to a Cloud Sandpit in AWS

How to create and access a Cloud Sandpit using AWS to evaluate cloud-based solutions.

Reasons to use a Cloud Sandpit #

  • Automatic application of any necessary organisational security requirements for provisioning
    For example, security features such as screen recording, limiting instance sizes, notifying admin when network connections to the internet are made, allowing custom IAM users to be created)
  • Only being accessible through an air-gapped environment
    Allows additional controls to be applied as needed. For example, deactivating downloads and uploads, creating barriers between your network and cloud providers
  • Instant access to a secure cloud environment
    Develop, prototype, and evaluate any solution that can be deployed on the cloud

How to connect to a Cloud Sandpit
#

  1. Click Sandpits:
    Sandpits in sidebar
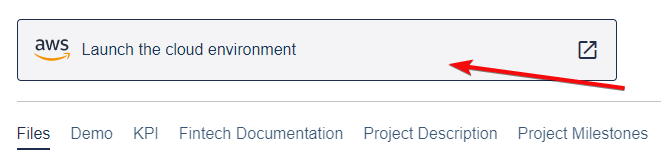
  2. Select the Sandpit you want to connect to. Click the Files tab and open the login credentials file:

    login txt file
  3. Click Launch the cloud environment:

    launch button
  4. Login to AWS
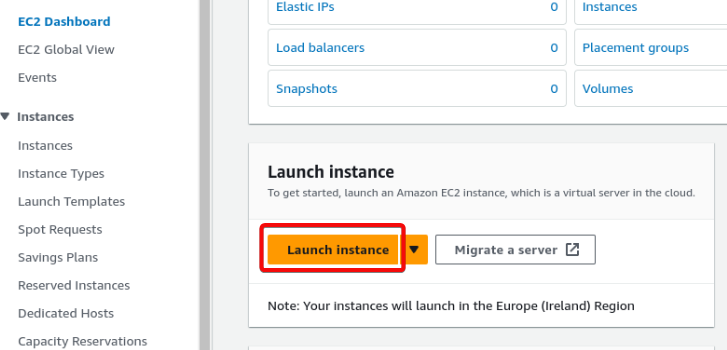
  5. Let’s configure computational resources with an EC2 instance. For this example we’ll use a custom Amazon Machine Image (AMI), known as a Compute Sandpit. Click Launch Instance:

    launch instance button
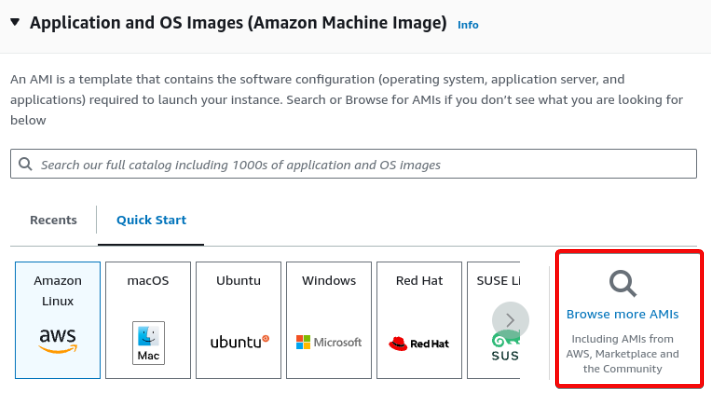
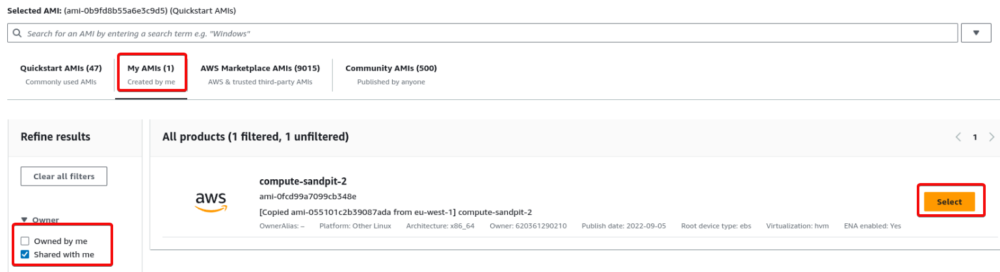
  6. Click browse more AMIs:

    browse more AMIs button
  7. Click My AMIs, select the Shared with me filter, select compute-sandpit-2:

    select button for compute sandpit
  8. Scroll down to Key pair (login). You can either create a key using the Key Management Service or select Proceed without a key pair:

    proceed without a pair dropdown
  9. Click Launch instance
  10. Now let’s connect to the EC2 Instance
  11. Now:
    1. Click Instances
    2. Click the EC2 node you want to use
    3. Check it has a public IPv4 DNS
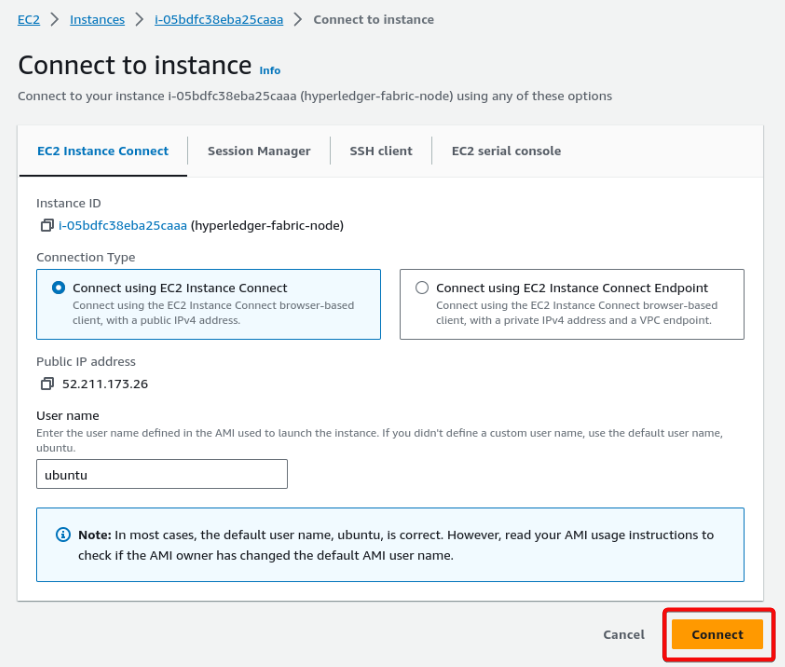
    4. Click Connect:

    EC2 instances screen

  12. Click Connect to SSH into the node:

    connect button
  13. You’re now connected to the Cloud Sandpit
Did this page answer your question?
This article covers:
  • Reasons to use a Cloud Sandpit
  • How to connect to a Cloud Sandpit
NayaOne company logo

© 2019–2025 NayaOne. All rights reserved

NayaOne company logo
Manage Consent
To provide the best experiences, we use technologies like cookies to store and/or access device information. Consenting to these technologies will allow us to process data such as browsing behaviour or unique IDs on this site. Not consenting or withdrawing consent, may adversely affect certain features and functions.
Functional Always active
The technical storage or access is strictly necessary for the legitimate purpose of enabling the use of a specific service explicitly requested by the subscriber or user, or for the sole purpose of carrying out the transmission of a communication over an electronic communications network.
Preferences
The technical storage or access is necessary for the legitimate purpose of storing preferences that are not requested by the subscriber or user.
Statistics
The technical storage or access that is used exclusively for statistical purposes. The technical storage or access that is used exclusively for anonymous statistical purposes. Without a subpoena, voluntary compliance on the part of your Internet Service Provider, or additional records from a third party, information stored or retrieved for this purpose alone cannot usually be used to identify you.
Marketing
The technical storage or access is required to create user profiles to send advertising, or to track the user on a website or across several websites for similar marketing purposes.
  • Manage options
  • Manage services
  • Manage {vendor_count} vendors
  • Read more about these purposes
View preferences
  • {title}
  • {title}
  • {title}