How to set up, configure and launch your Data Science Sandpit.
How to add a Data Science Sandpit #
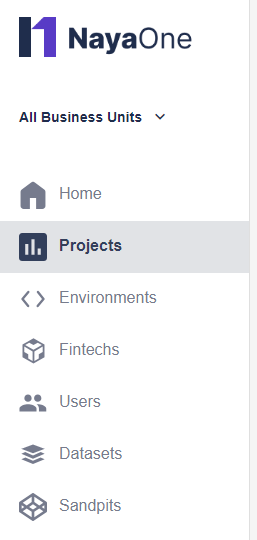
- Click Projects in the sidebar:
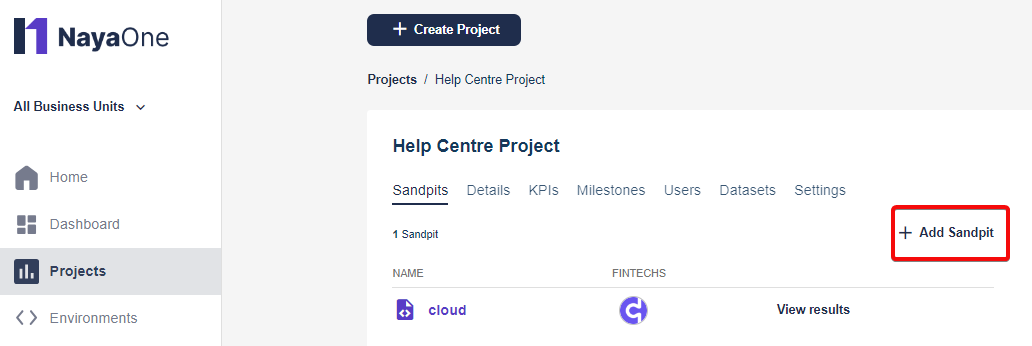
- Click to open the Project where you want to add a Sandpit
- Click +Add Sandpit:
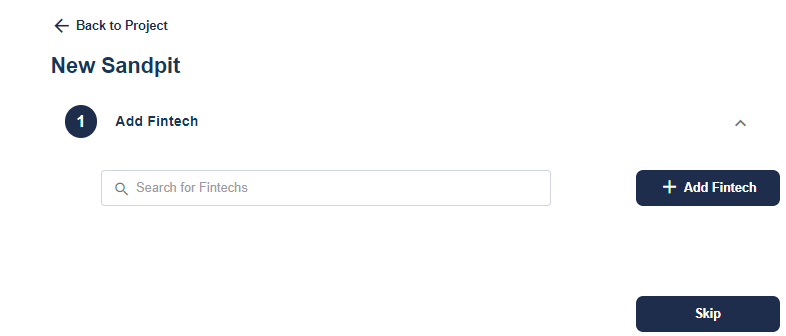
- Add the Fintech for the Sandpit (or click Skip if you haven’t chosen the Fintech):
- Click Choose Sandpit type, select Data Science Sandpit, click Next:
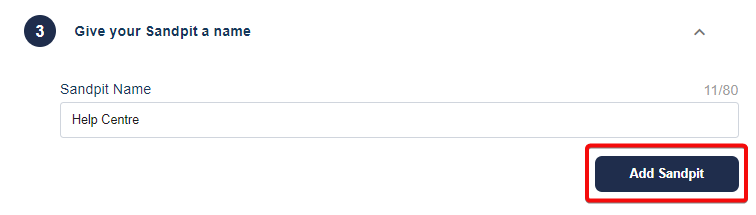
- Enter a Sandpit name and click Add Sandpit:
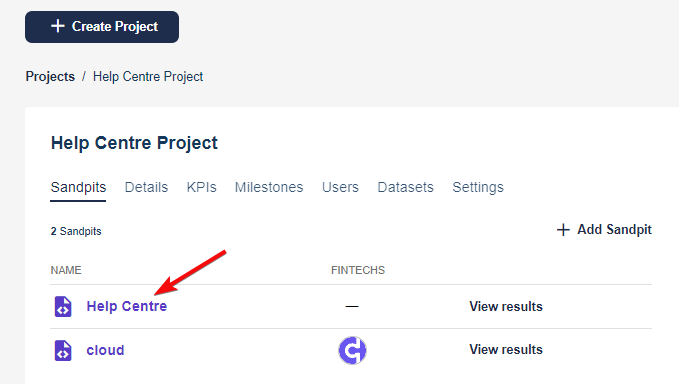
- The Data Science Sandpit now appears in your Sandpit list:
How to request an API token in the Data Science Sandpit #
- Click Sandpits:

- Click the Sandpit you’ve created
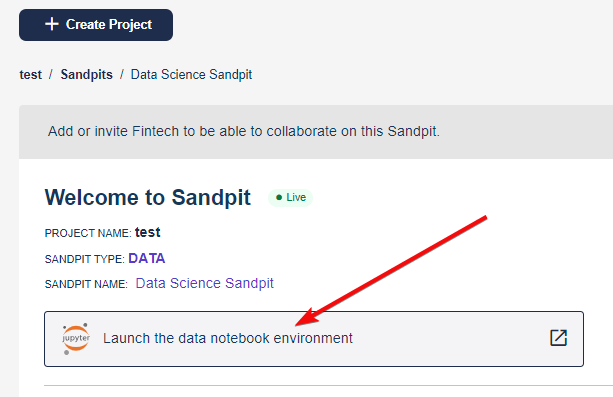
- Click Launch the data notebook environment:

- Click Token:

- Give the API a name, set its expiry, and click Request new API token:

- Now when you click Token, you’ll see all tokens with full access to the JupyterHub API. Click Revoke to revoke the API token. If you’re revoking an API token for a running server, you’ll need to restart the server:


How to start the server #
- Click Sandpits:
- Click the Sandpit you’ve created
- Click Launch the data notebook environment:
- Click Start my server:
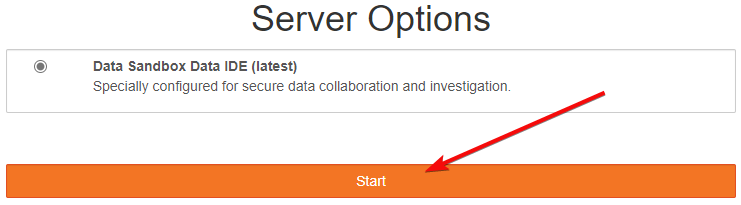
- You’ll see all the server options for the Sandpit. Select an option and click Start:

- You can now switch tabs between the Launcher and Getting Started documentation. This includes some trial requests: